

SpringBoot基于Thyeleaf实现邮件发送
邮件发送其实是一个非常常见的需求,用户注册,找回密码等地方,都会用到,使用 JavaSE 代码发送邮件,步骤还是挺繁琐的,Spring Boot 中对于邮件发送,提供了相关的自动化配置类,使得邮件发送变得非常容易,本文我们就来一探究竟!
准备
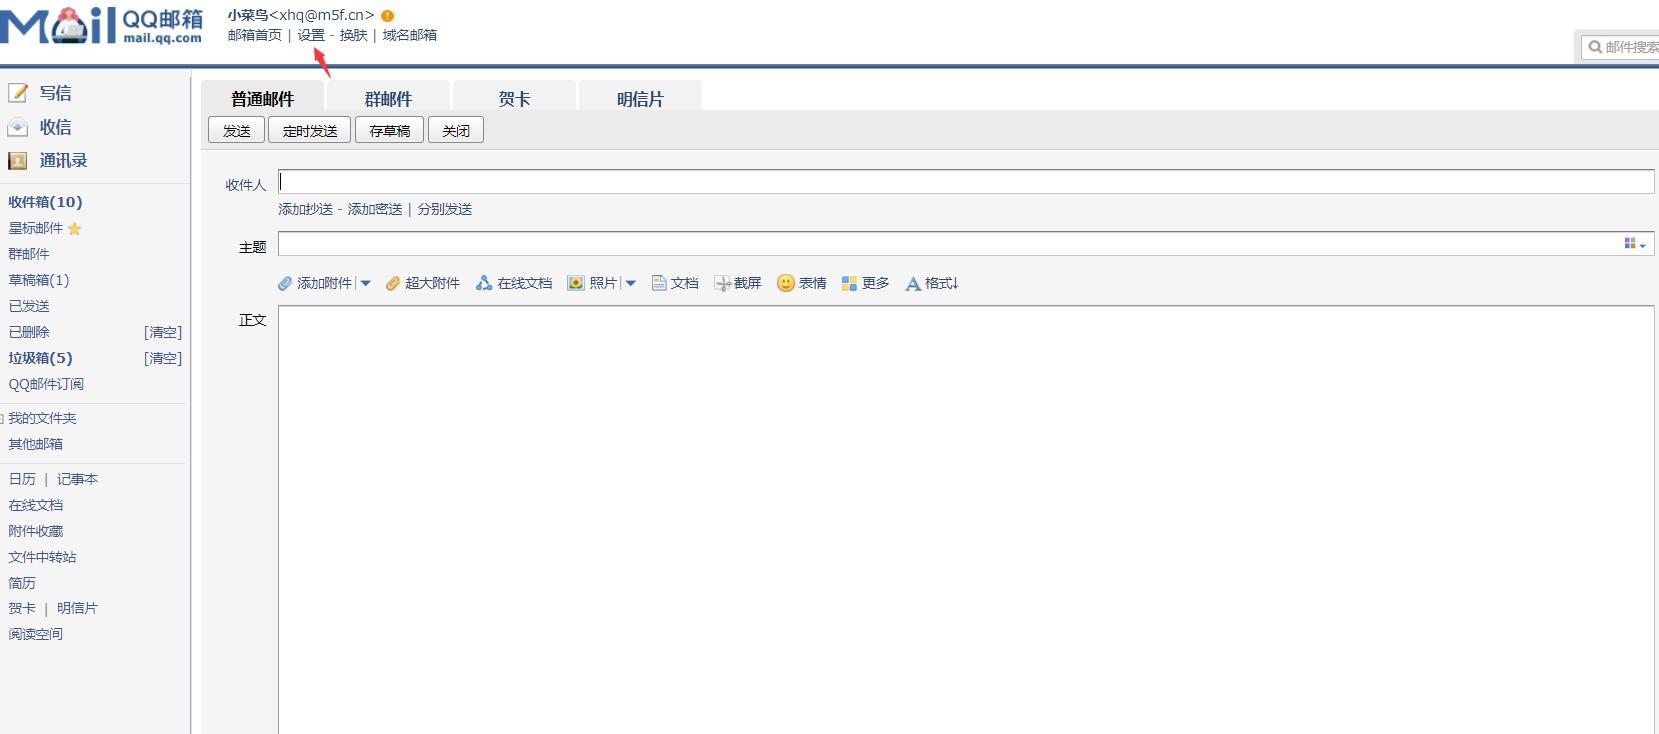
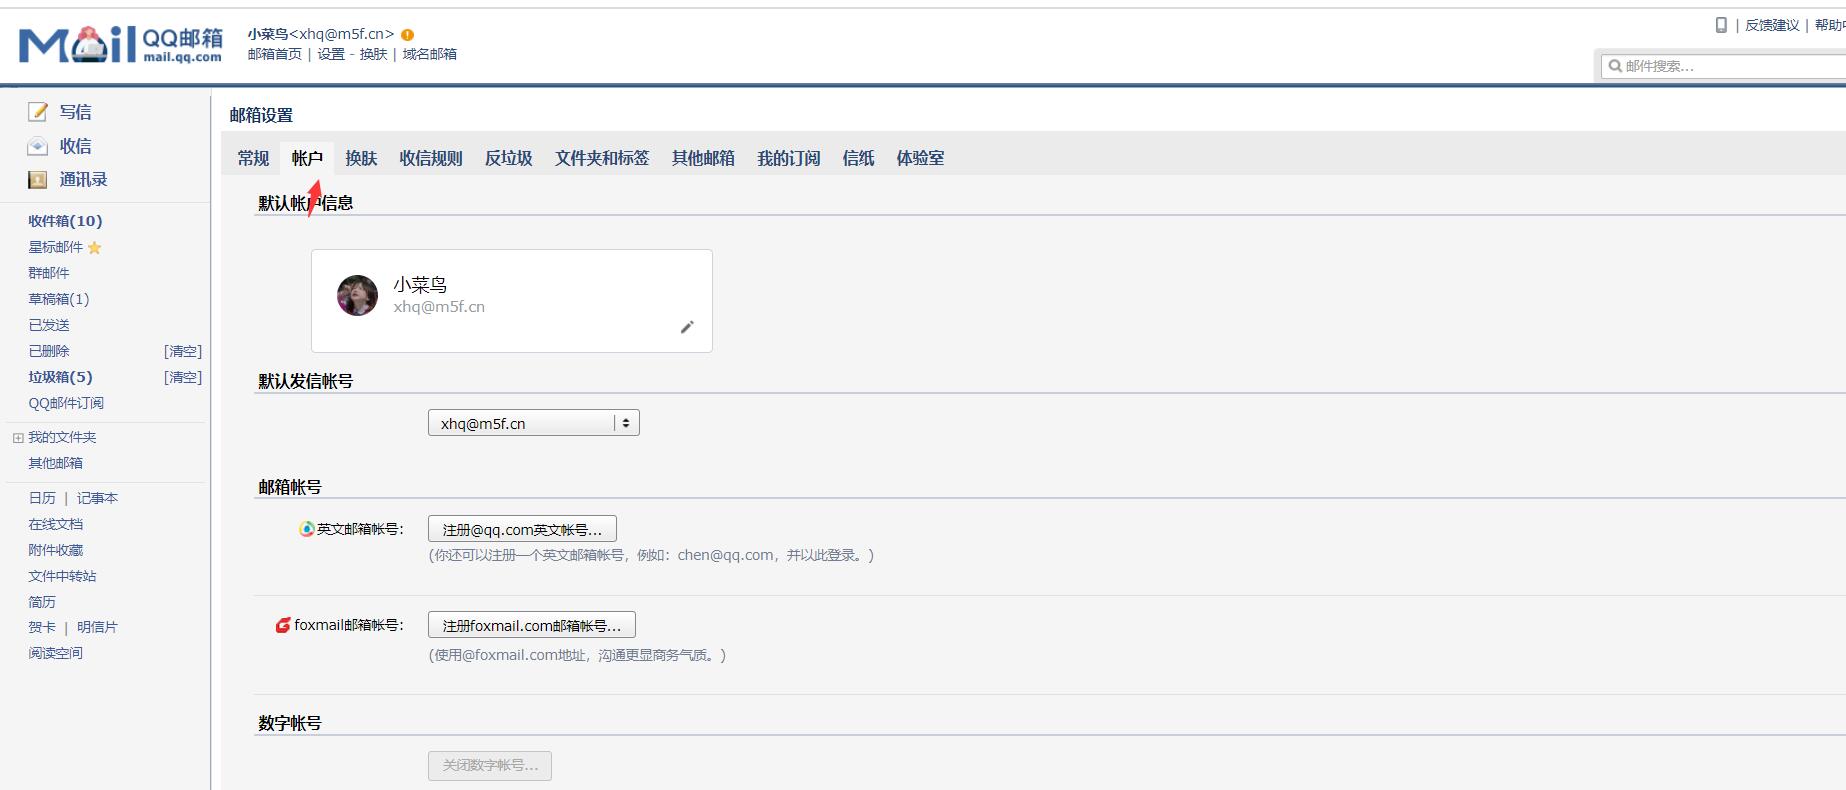
我们以QQ邮件为例,第一步申请授权码:
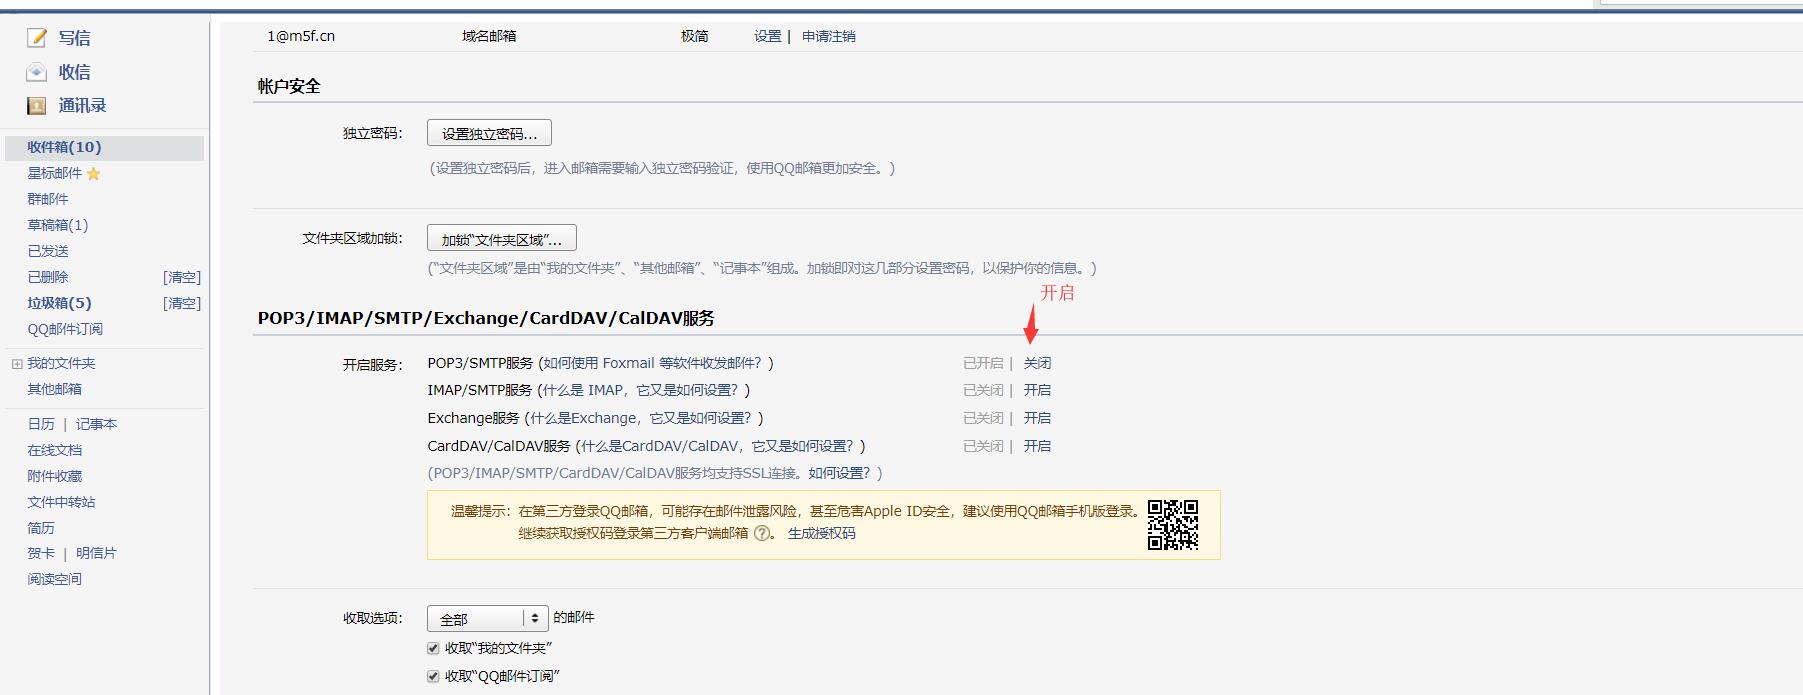
点击开启,开启相关功能,开启过程需要手机号码验证,按照步骤操作即可,不赘述。开启成功之后,即可获取一个授权码,将该号码保存好,一会使用。
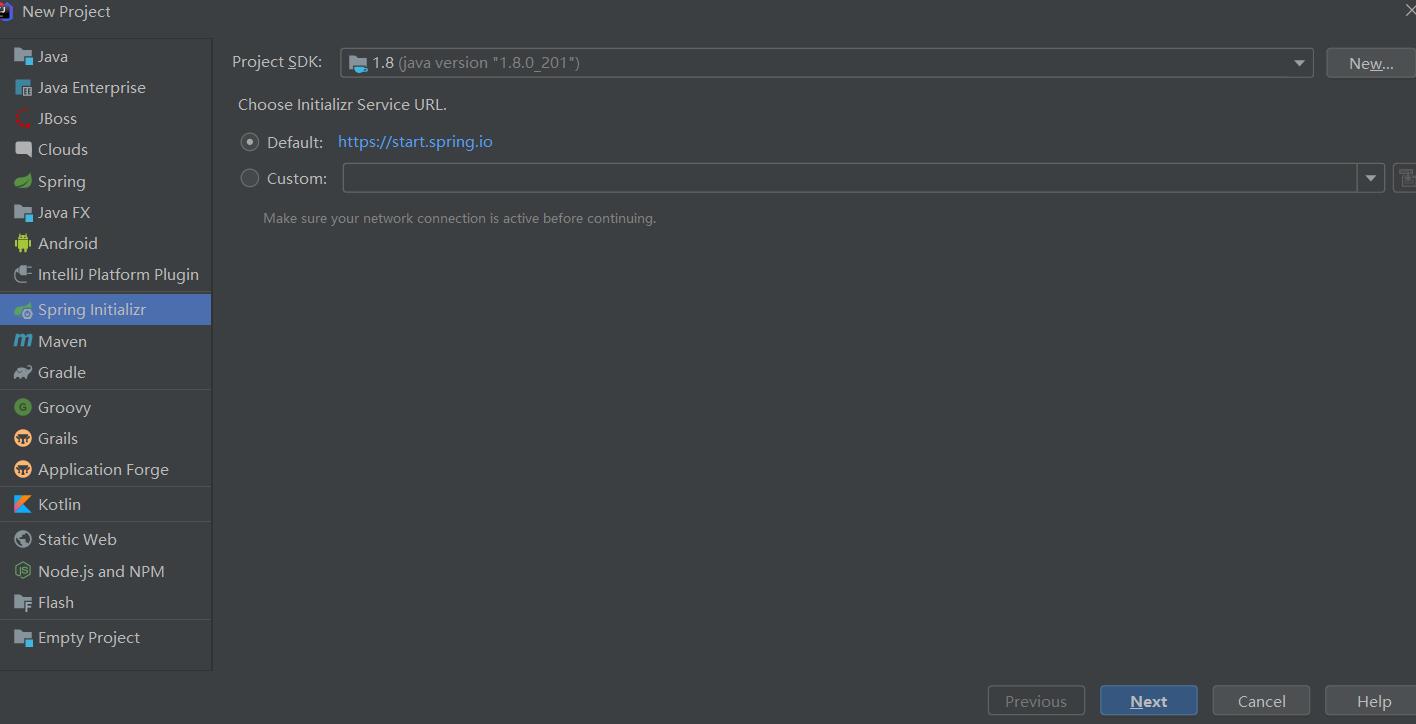
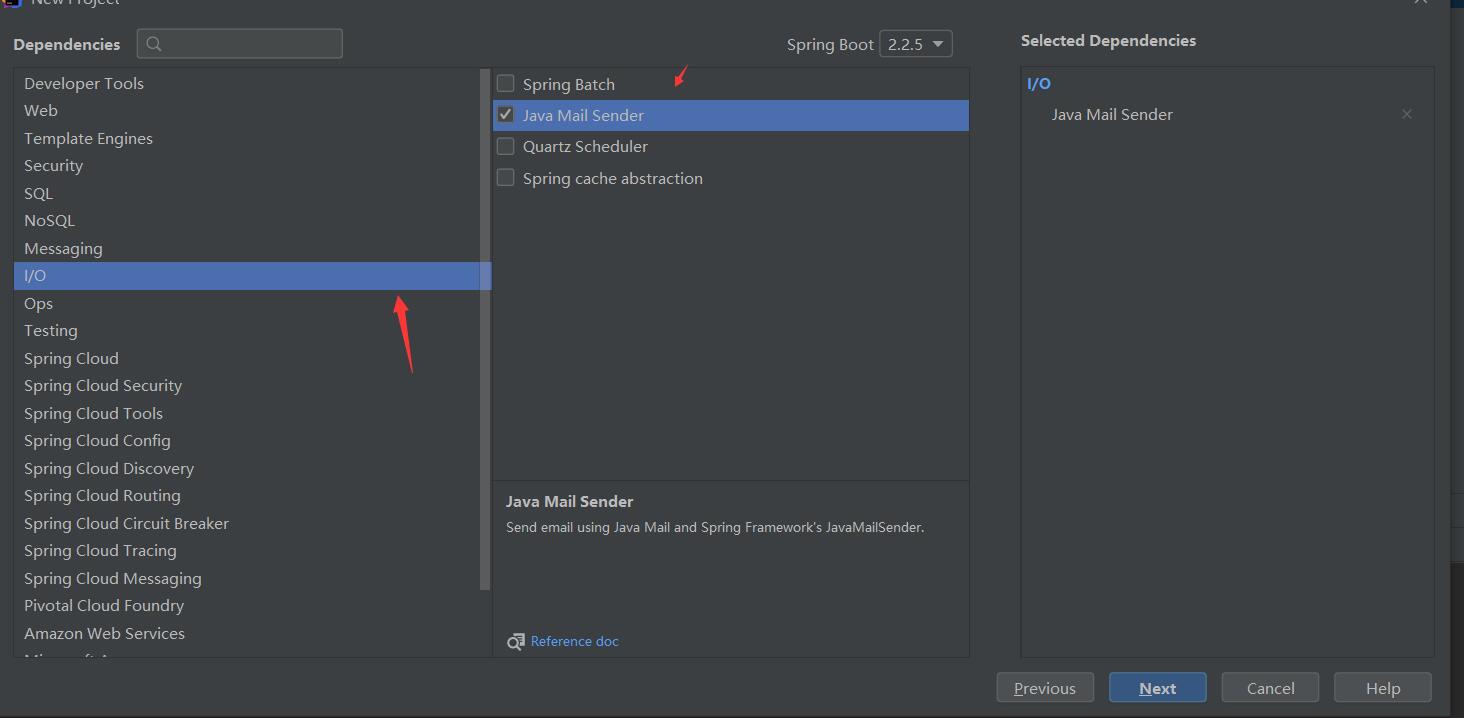
项目创建
引入邮件发送依赖:
#####接下来在 application.properties 中配置邮箱的基本信息:
spring.mail.host=smtp.qq.com
spring.mail.port=587
spring.mail.username=xhq@m5f.cn //填你自己的
spring.mail.password=ubknfzhjkhrbbabe //填你的授权码
spring.mail.default-encoding=UTF-8
spring.mail.properties.mail.smtp.socketFactoryClass=javax.net.ssl.SSLSocketFactory
spring.mail.properties.mail.debug=true
含义:
SMTP 服务器的端口
配置邮箱用户名
配置密码,注意,不是真正的密码,而是刚刚申请到的授权码
默认的邮件编码
配饰 SSL 加密工厂
表示开启 DEBUG 模式,这样,邮件发送过程的日志会在控制台打印出来,方便排查错误    配置 SMTP 服务器地址
使用 Thymeleaf 作邮件模板
<dependency>
    <groupId>org.springframework.boot</groupId>
    <artifactId>spring-boot-starter-thymeleaf</artifactId>
</dependency>
然后,创建 Thymeleaf 邮件模板: 然后,创建 Thymeleaf 邮件模板:
<!DOCTYPE html>
<html lang="en" xmlns:th="http://www.thymeleaf.org"> //一定要导入
<head>
<meta charset="UTF-8">
<title>Title</title>
</head>
<body>
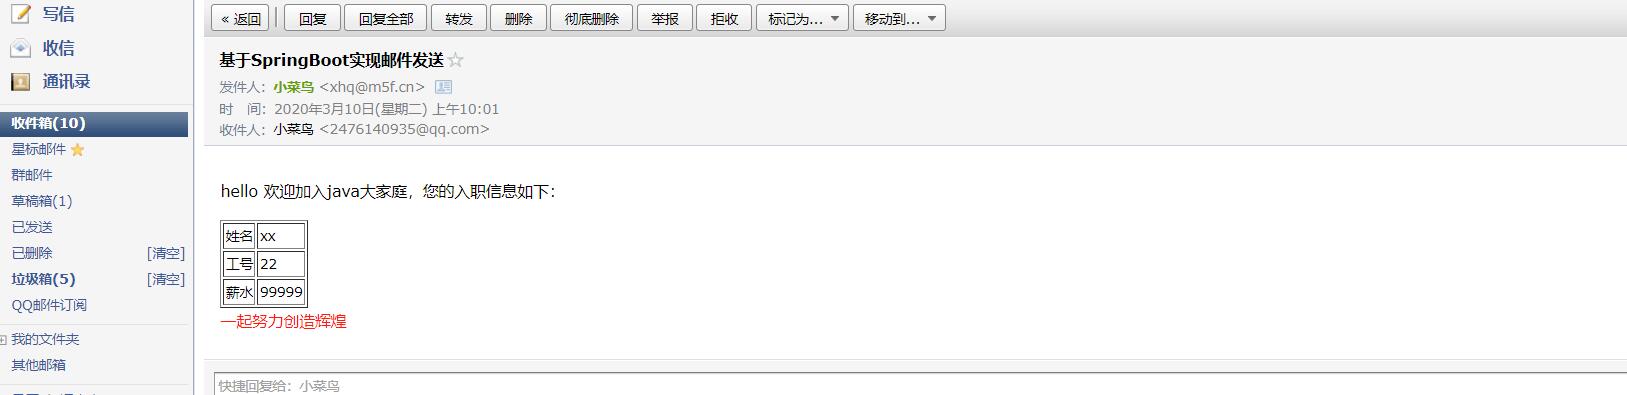
<p>hello 欢迎加入 xxx 大家庭,您的入职信息如下:</p>
<table border="1">
<tr>
<td>姓名</td>
<td th:text="${username}"></td>
</tr>
<tr>
<td>工号</td>
<td th:text="${num}"></td>
</tr>
<tr>
<td>薪水</td>
<td th:text="${salary}"></td>
</tr>
</table>
<div style="color: #ff1a0e">一起努力创造辉煌</div>
</body>
</html>接下来发送邮件:
    @Autowired
    JavaMailSender javaMailSender;

    @Autowired
    TemplateEngine templateEngine;
    //待发送的邮件
    String[] email ={"xx@qq.com"};

    @RequestMapping("hello")
    public void sendThymeleafMail() throws MessagingException {
        MimeMessage mimeMessage = javaMailSender.createMimeMessage();
        MimeMessageHelper helper = new MimeMessageHelper(mimeMessage, true);
        helper.setSubject("基于SpringBoot实现邮件发送");
//        你的邮件
        helper.setFrom("xx@qq.comm");
        helper.setTo(email);
//        helper.setCc("37xxxxx37@qq.com");
//        helper.setBcc("14xxxxx098@qq.com");
        helper.setSentDate(new Date());
        Context context = new Context();
        context.setVariable("username", "xx");
        context.setVariable("num","22");
        context.setVariable("salary", "99999");
        String process = templateEngine.process("mail.html", context);
        helper.setText(process,true);
        javaMailSender.send(mimeMessage);
    }
效果图
本案例我已经上传github,可以下载查看效果。本地运行 localhost:8080/index.html
github项目地址:https://github.com/xionghuaqiang/cn.m5f